
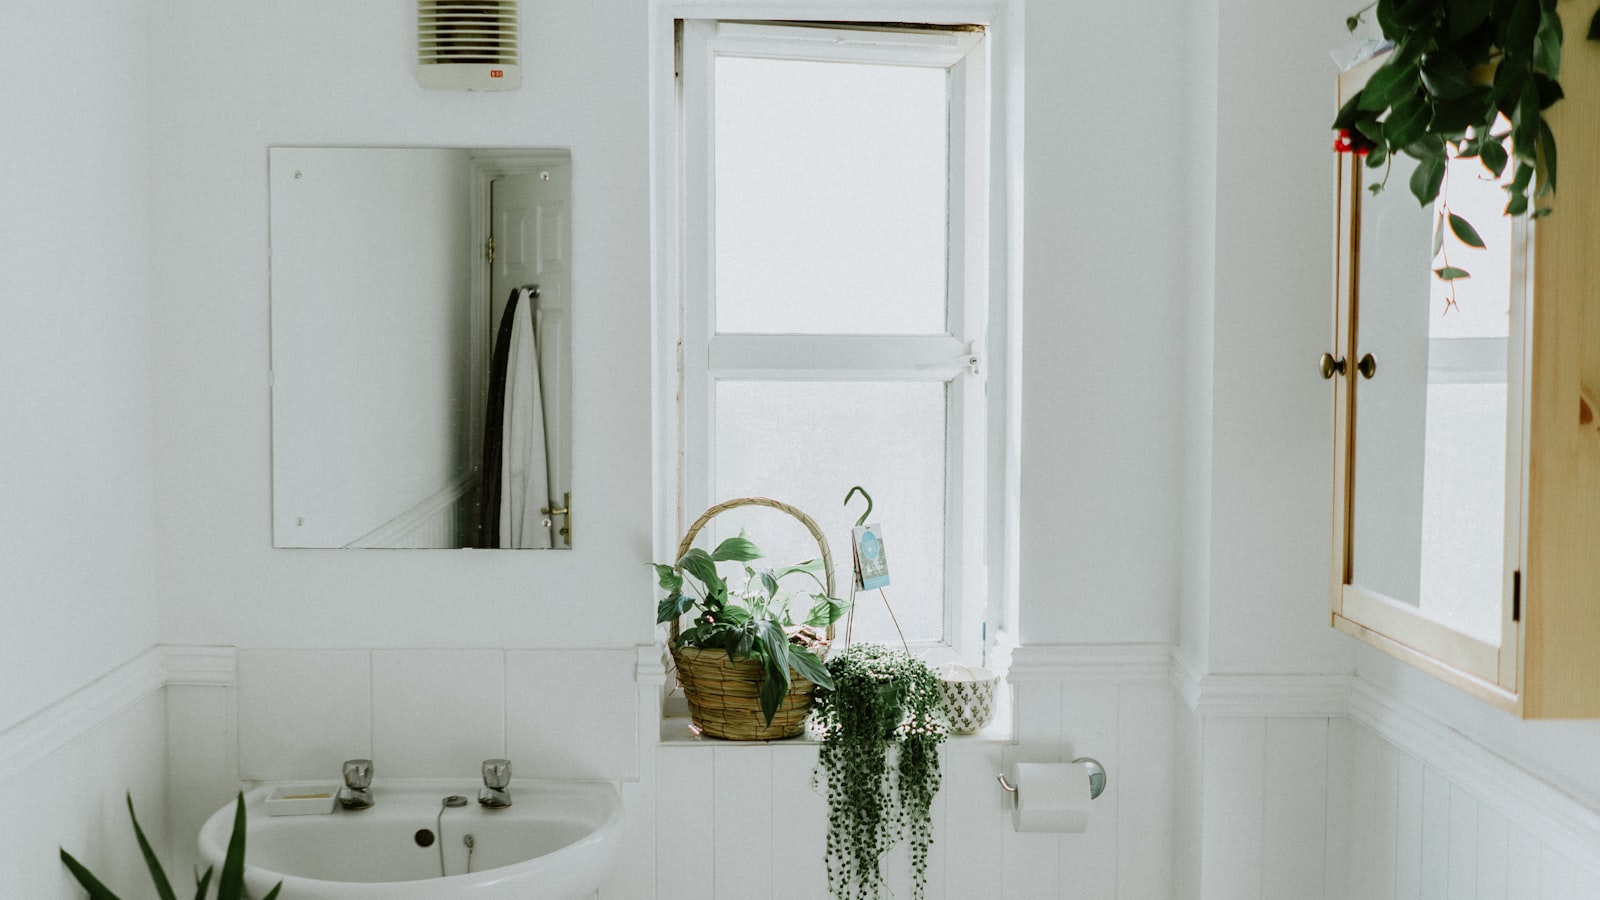
Almost every bathroom plan that falls apart falls apart for the same reason: the numbers were wrong from the start. Someone eyeballed the room, sketched a layout they loved, and only found out at demo that the vanity they picked will not clear the door swing. Good measuring is not glamorous work, but it is the foundation everything else sits on. Take an hour, do it carefully, and you will save yourself a lot of grief later.
Here is the way we measure a bathroom on a first walkthrough. It is slow on purpose. You are building a picture of the room you can trust once you start moving fixtures around on paper.
Your Tools
What You Will Need
You do not need a truck full of tools for this. A few basics, used carefully, will get you accurate numbers.
- A 25 foot tape measure. Get one with a wide, stiff blade so it stays straight when you extend it across the room.
- A laser measure if you own one. It is faster and more accurate for long runs and floor to ceiling heights, but it is not required.
- Graph paper and a pencil, or the notes app on your phone. Graph paper is nice because you can sketch roughly to scale as you go.
- A short level, 12 to 24 inches. Old bathrooms are rarely square, and a level tells you when a wall or floor is out of plumb.
- A helper, if you can grab one. Holding the dumb end of the tape on a long wall is a two person job.
The Shell
Measure the Room
Start with the shell of the room before you touch a single fixture. Work in a consistent order every time so you never miss a surface. We go walls first, then floor to ceiling, then the openings.
- Measure each wall at the floor, tight against the baseboard, and write the length down. Then measure the same wall again near the ceiling. If the two numbers differ, the wall is out of plumb, and you want to know that now.
- Measure the floor to ceiling height in at least two spots. Ceilings sag, soffits hide, and a bulkhead over a shower can steal headroom you were counting on.
- Now the openings. For every window and door, measure the rough opening, meaning the framed hole, not just the visible glass or slab. Note the width, the height, and how far the opening sits from the nearest corner.
- For the door, note which way it swings and how far the leaf travels into the room. That arc is space you cannot put a fixture into.
Sketch the room as you go and label every number right on your drawing. A list of measurements with no picture is almost useless a week later.
Center Lines
Measure the Fixtures
Now measure what is already in the room, and just as important, measure the center lines. A center line is the imaginary line running through the middle of a fixture, and it is what plumbers and tile setters actually work from.
- Toilet: measure from the finished wall behind it to the center of the flange bolts on the floor, the caps at the base. That distance, the rough in, is usually 12 inches, sometimes 10 or 14. Also measure from the center of the toilet to the nearest side wall.
- Vanity: measure the full width, depth, and height of the cabinet, and note the center line of the sink and the faucet.
- Tub or shower: measure the footprint on the floor, length and width, and the height of any curb or threshold. For a shower, note where the drain sits and where the valve comes out of the wall.
Measure long walls twice, once low and once high, and never trust a corner to be square. In a house that has settled, a wall can run out by half an inch or more over eight feet. That half inch is exactly the gap that leaves a vanity floating off the wall or a tile row running crooked. If two readings disagree, plan to the tighter one.
Breathing Room
Mind the Clearances
A bathroom that measures fine on paper can still feel cramped or fail an inspection if the empty space around each fixture is too tight. These are the clearances we design around, and they come from a mix of code and plain comfort.
- A toilet wants its center line about 15 to 18 inches off any side wall or vanity. Under 15 inches and your knees hit the wall.
- Leave clear open space in front of the toilet, ideally around 21 inches at a minimum and more if you have it, so there is room to stand and turn.
- Give the vanity clear floor space in front of it too, so a drawer or door can open and a person can lean in to the sink.
- A comfortable walkway through the room runs around 30 inches wide. Tighter than that and two people cannot pass, and it starts to feel like a hallway.
- Check the door swing against every fixture. A door that clips the toilet or bangs the vanity is a daily annoyance you can design out on paper.
Hidden Costs
Note What Is Behind the Walls
You cannot measure what you cannot see, but you can note it, and it matters a great deal to what a layout will cost. Before you fall in love with moving the toilet to the far wall, look for the signs of what is running behind the surfaces.
- Find the water shutoff and the supply lines feeding the sink, toilet, and tub, and mark roughly where they enter.
- Note where the drains sit. Moving a drain, especially a toilet drain, means opening the floor, and that is a real cost, not a small one.
- Look for the exhaust vent, and any heat register or return, so you know what is in the ceiling and walls.
You will not know exactly what is back there until demo, but noting these clues tells a contractor where the expensive surprises might hide.
On Paper
Draw It to Scale
The last step turns your numbers into something you can plan with. Measure twice before you commit anything to a drawing. If a number felt off when you took it, take it again. It is far cheaper to remeasure than to order the wrong tub.
Then draw the room to a simple scale on your graph paper, say a quarter inch on the page for every foot of real room. Block in the walls, the door swing, the window, and the fixtures with their center lines. Suddenly a layout that lived only in your head has to obey the real dimensions, and you will see right away whether your ideas fit.
None of this replaces a professional set of eyes. When we come out, we confirm every measurement on site and check the things you cannot see from the surface. If you have your numbers and a sketch in hand when we talk, the whole conversation moves faster, and your budget gets more honest. Whenever you are ready to compare your plan against the real room, contact us and we will walk it with you.